
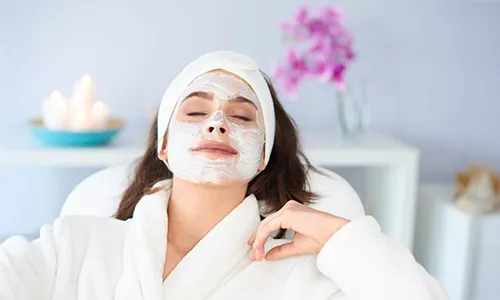
Sometimes your skin doesn’t need a complicated routine or an expensive spa appointment. A few simple ingredients from your kitchen can refresh your skin in surprisingly gentle and effective ways. That’s the beauty of homemade facials. They’re simple, customizable, and perfect for those days when your skin just needs a little extra love.
Whether your skin is dry, oily, sensitive, or somewhere in between, the right DIY facial can cleanse, hydrate, and brighten your complexion. The secret is choosing ingredients that suit your skin type and keeping the routine gentle.
Let’s explore easy homemade facials that work for different skin types, along with a few quick tips to make your skin glow naturally.
Why Homemade Facials Are So Popular
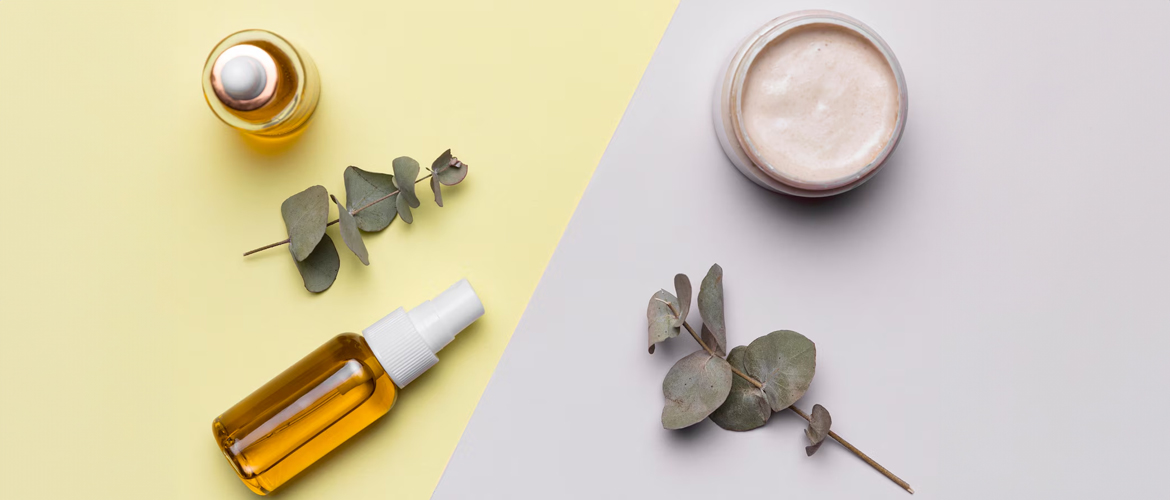
Many people are turning to homemade facials because they are simple and often made with natural ingredients. When done correctly, they can help remove impurities, hydrate the skin, and improve overall texture.
They’re also customizable. You can adjust ingredients based on what your skin needs that day, whether it’s hydration, soothing care, or oil control.
Homemade Facials for Different Skin Types
Every skin type reacts differently to ingredients. Choosing the right combination makes a big difference.
DIY Facial for Dry Skin

Dry skin often feels tight, flaky, or dull. The goal is to deeply moisturize and nourish the skin.
Honey and Avocado Facial
Ingredients:
• 1 tablespoon honey
• 2 tablespoons mashed avocado
How to use:
Mix the ingredients into a smooth paste and apply it evenly to your face. Leave it on for about 15 minutes before rinsing with lukewarm water.
Why it works:
Avocado is rich in healthy fats that help moisturize the skin, while honey naturally hydrates and softens.
DIY Facial for Oily Skin
Oily skin benefits from ingredients that absorb excess oil without drying the skin too much.
Clay and Rose Water Facial
Ingredients:
• 1 tablespoon bentonite or multani mitti clay
• Rose water
Skin Care, Skincare Routine, Natural Beauty, Beauty Tips, Do it yourself, Self-care, Self-Love, Glowing Skin, Skin Type, Makeup RemovalHow to use:
Mix the clay with enough rose water to form a paste. Apply it to your face and allow it to dry slightly before rinsing.
Why it works:
Clay absorbs excess oil and helps cleanse pores, while rose water refreshes the skin.
DIY Facial for Sensitive Skin

Sensitive skin needs gentle ingredients that soothe rather than irritate.
Oatmeal and Yogurt Facial
Ingredients:
• 1 tablespoon finely ground oatmeal
• 1 tablespoon plain yogurt
How to use:
Mix the ingredients and apply gently to your skin. Leave it on for 10 to 15 minutes before washing off.
Why it works:
Oatmeal calms irritated skin, while yogurt contains lactic acid that gently exfoliates.
DIY Facial for Combination Skin
Combination skin usually means an oily T-zone and dry cheeks. A balanced facial works best.
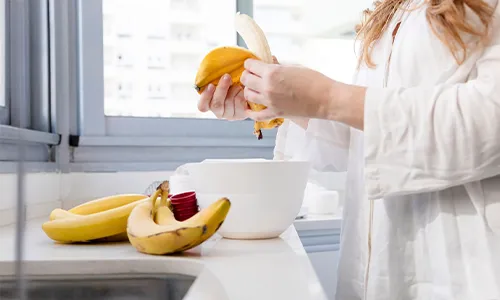
Banana and Honey Facial
Ingredients:
• Half a ripe banana
• 1 teaspoon honey
How to use:
Mash the banana and mix it with honey. Apply the mixture to your face and leave it on for 15 minutes before rinsing.
Why it works:
Banana hydrates dry areas while honey helps balance oil production.
DIY Facial for Acne-Prone Skin
Acne-prone skin needs ingredients that help cleanse pores and calm inflammation.
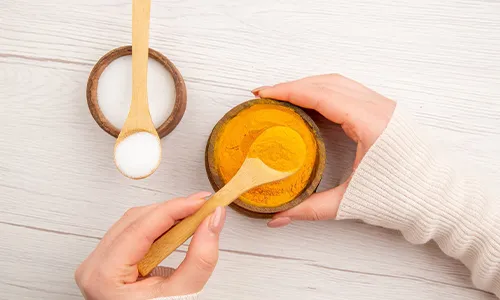
Turmeric and Yogurt Facial
Ingredients:
• 1 tablespoon yogurt
• A small pinch of turmeric
How to use:
Mix and apply a thin layer to your face. Leave it on for about 10 minutes before rinsing gently.
Why it works:
Turmeric has natural anti-inflammatory properties, while yogurt helps gently exfoliate the skin.
Simple At-Home Facial Routine
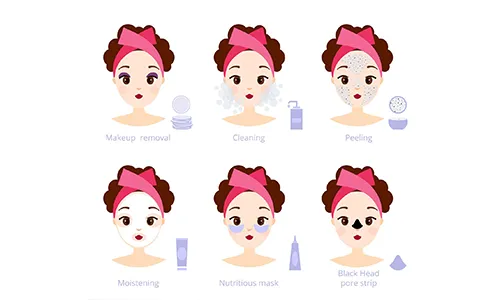
To get the most from homemade facials, following a simple step-by-step routine can help.
Step 1: Cleanse
Start by washing your face with a gentle cleanser to remove makeup, oil, and dirt.
Step 2: Light Exfoliation
Use a gentle scrub made with sugar and honey to remove dead skin cells.
Step 3: Apply the Facial Mask
Choose the DIY mask that suits your skin type and apply it evenly.
Step 4: Rinse and MoisturizeHomemade Facials
After removing the mask, apply a light moisturizer to keep your skin hydrated.
Quick Tips to Make Homemade Facials Work Better
Even simple homemade facials can give great results when done properly.
- Use fresh ingredients - Fresh ingredients are more effective and safer for your skin.
- Always patch test first - Try a small amount on your wrist before applying it to your face.
- Don’t overdo facials - One or two times a week is usually enough.
- Apply masks on clean skin - This helps ingredients absorb better.
- Stay consistent - Natural skincare works best with regular care.
Easy 5-Minute Glow Facial
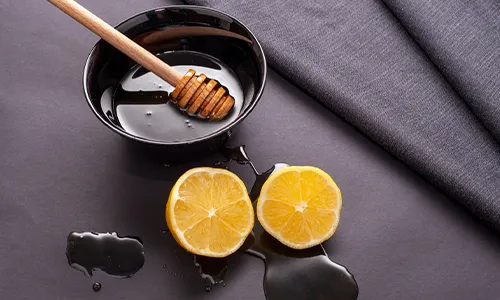
If you're short on time, this quick facial can refresh your skin instantly.
Mix 1 teaspoon of honey with a few drops of lemon juice and apply it to clean skin for five minutes. Rinse gently and follow with moisturizer. This simple treatment can leave your skin looking fresh and radiant.
FAQs
Are homemade facials safe for all skin types?
Yes, homemade facials can be safe for most skin types when you choose ingredients suitable for your skin and perform a patch test first.
How often should you do homemade facials?
Most skin types benefit from homemade facials once or twice a week. Doing them too frequently may irritate the skin.
Do homemade facials really work?
Homemade facials can help cleanse, hydrate, and brighten the skin when used regularly with the right ingredients.
Which homemade facial is best for glowing skin?
Facials made with ingredients like honey, yogurt, turmeric, and avocado are commonly used to help improve skin brightness and hydration.
Taking care of your skin doesn’t have to be complicated. With the right ingredients and a little consistency, homemade facials can help cleanse, hydrate, and brighten your skin naturally. The key is understanding your skin type and choosing ingredients that support its needs. With these easy DIY recipes and quick tips, you can enjoy spa-like skincare right at home.


