
How often have we got luxury gold foil manicures at the beauty salon? Not too often I assume due to the cost of the procedure.
But don’t worry you can get the same look at home by replicating the manicure all by yourself.
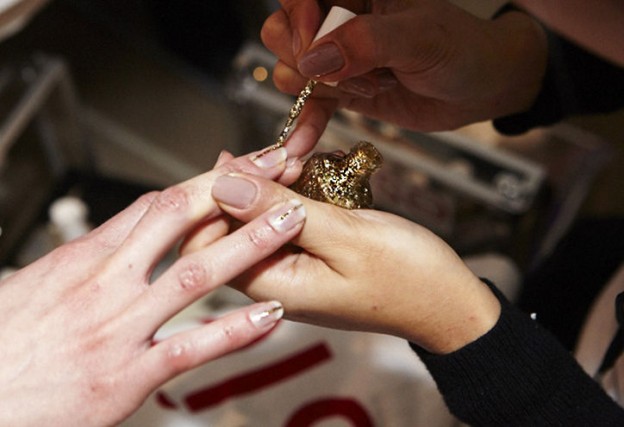
Step 1: What you need
- Gold stripping (which is available at most beauty stores)
- Base coat
- Coral nail polish
- Tweezers
- Cuticle trimmers
- Top coat
- Eye shadow brush
- Nail polish remover
Step 2: Paint the nails
Neatly clean, trim and file the nails in the desired shape.
Apply a coat of Base Coat and then follow that up with two coats of coral nail polish or any other sophisticated color that will make the gold foil look like that of royalty.
Dry for at least 5 minutes before the next step.
Step 3: Affixing gold tape
Unravel the gold tape a little and then affix one end to the base of the nail and slowly bring it across to the top. Do not worry about creases as it can be smoothened later using the pair of tweezers.
Step 4: Cutting the tape
As obvious as it seems, you need to cut off the tape. But use a cuticle trimmer for the purpose instead of a pair of scissors as it leaves less room to ruin the nail polish.
Step 5: Design
Use the gold tape and make designs on your nails. You can choose to put horizontal of vertical stripes, crosses or even chevron patterns. Use your imagination and go wild.
Step 6: Protect tape
After you’re done with designing your nails using the gold tape, use a top coat to protect the tape from peeling off. Don’t forget to brush the top coat on the tip of the nails.
Step 7: Clean
If you have made any mistakes in applying the polish and it has come on your skin, use a cotton or eye shadow brush dipped in nail polish remover to remove the stray polish.
Step 8: Wait
Do not move your hands much for at least 15 minutes till the top coat dries and the nail as a whole sets.