
Getting a manicure or pedicure in the salon can be quiet expensive and can burn a hole in your pocket. We all love to indulge in pampering out feet and hands, so why not get the same treatment done at home?
A pedicure at the spa might look too elaborate for you to recreate at home. But it is not so complicated or difficult as it looks.
Here are 11 steps that you can follow to achieve the same results as the pedicures at the salons or spas:
1. Collect all the essential tools and products
A pedicure needs all the tools and products to achieve the optimal results. Here are some of the tools and products that you will need:
- Nail clipper
- Nail file
- Nail polish remover
- Cotton balls
- Emery board or Pumice stone
- Nail buffer
- Callous and cuticle remover
- Cuticle pusher
- Cuticle nippers
- Foot scrub
- Foot massage cream
- Foot pack
- Moisturizer
- Base coat
- Nail Polish
- Clear top coat
2. Clean nails and remove old polish
Clean the nails and feet using warm water and soap. You should even remove any previously applied nail polish.
Try to use non-acetone based nail polish removers, as the ones that contain acetone dry your nails and make them brittle. Never soak nails in nail polish remover, instead use cotton balls dipped in the remover solution.
3. Cut and shape nails
The next basic procedure is to cut your nails and file it in the desired shape. Avoid metal files for brittle nails.
Instead use an emery or crystal nail file and after shaped, smoothen the edges and the nail with a buffer for a smooth and even surface.
4. Soak
Now comes the best part, the soak. Soak your feet in warm tepid water, not to hot and definitely not cold. If you want, you can add some salt crystals to the water to soften callouses on the feet.
Add a face cleanser the water, to get any dirt or grime off the feet.
5. Scrub
Remove each foot from the water and scrub away using the foot scrub. This scrub will scrub away any dead skin or dirt.
It also will improve the blood circulation in the feet and leave your feet feeling more relaxed and energized.
6. Apply callous and cuticle remover
Dab on the callous and cuticle remover to the required areas, that is the places where there is dead skin near the cuticles and on callouses, thick skin on the feet.
Allow it to rest for a few minutes.
7. Remove the callouses and cuticles
Use the callous and cuticle remover tool and start removing cuticles and callouses. Push back the cuticle, but remember to take great care when doing this so that you do not rip, tear or cause inflammation to the area.
For callouses at the bottom or around your feet, use a pumice stone or emery file to scrub away the tough dry skin.
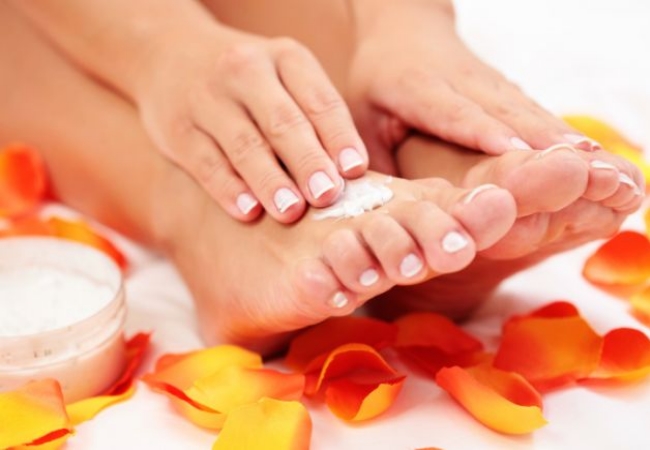
8. Massage
Once you are done with scrubbing away the dead and dry skin, it comes the time to really pamper your feet.
Massage your feet with a massage cream or any luxurious moisturizing oil. Don’t forget to hold for a few seconds on the pressure points to release the stress.
9. Pack
Let your skin absorb from the benefits of a foot pack. You can use a foot pack or choose to engulf your feet in paraffin. Either way, allow the pack to set and wash away with warm water.
10. Moisturize
We are nearing the end of the pedicure. Moisturize your feet. For extremely dry feet, use foot care creams that include Shea butter and olive oil.
This process prevents cracks and reduces the chances of it reoccurring, if applied on a regular basis.
11.Decorate nails
Apply a base coat, followed by the nail color of your choice. Wait for the nail polish to dry properly before you apply the next coat. Once the nail paint is dry, follow it up with a glossy clear top coat.
So save yourself the time and money by this DIY pedicure done in the comfort of your own home.